
Another Open Source Repo Just Cloned Claude Design
A structured first-look at Open Design — install it, run a demo, tour the built-in design systems and templates, and reach a candid verdict on whether it's worth your time. Based on Chase AI's hands-on walkthrough.
This guide is a structured first-look at Open Design: install it, run a quick demo, tour the built-in design systems and templates, and end with an honest read on where it shines and where it is still rough. It follows the path Chase AI took in his hands-on walkthrough, rewritten and brought up to date with the current release so you can follow along step by step. Watch the video above for the live run, or read on for the written version.
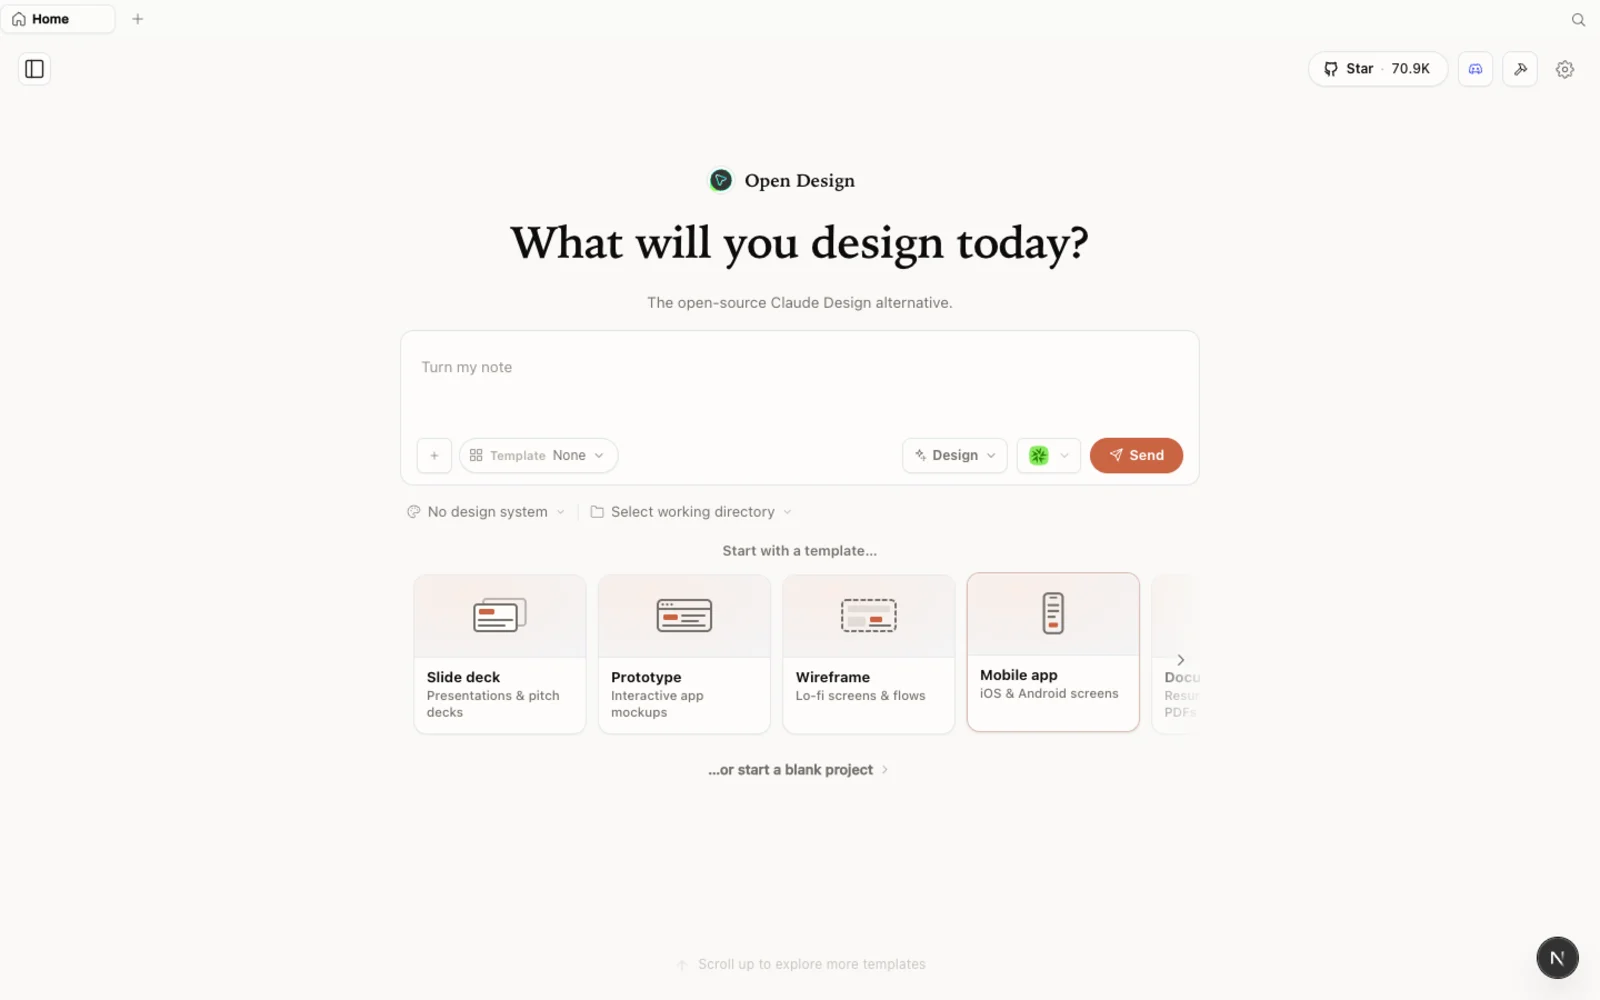 The Open Design workspace — a calm, familiar canvas with prototypes, slide decks, images, and video all in one place.
What is Open Design?
Open Design is an open-source, local-first design platform that runs on top of the coding agent you already use. Instead of locking you into one model provider, it detects the CLIs already on your machine — Claude Code, Codex, Cursor, Gemini, Copilot, OpenCode, and a couple dozen more — and lets that agent drive generation. Chase calls it “bring your own agent,” and that is exactly the point: you are not paying separate API fees on top of a subscription you already have, because generation runs through your own CLI.
A few things that make it worth a look:
- Open source, Apache-2.0 — clone it, self-host it, read every line.
- Runs locally — your projects live in folders on your own machine, not in someone else’s cloud.
- Agent-pluggable — 21+ coding agents are supported; you pick which CLI drives the work, or bring your own API key for a different harness.
- More than prototypes — prototypes, slide decks, magazine layouts, image generation, and even video, all from one workspace.
- A deep library of design systems and skills built in, so you are not starting from a blank canvas.
If you have used Claude Design, the interface will feel instantly familiar — Open Design keeps the same calm aesthetic, then layers extra capabilities (slide decks, image, and video) on top. The honest framing: it is its own open, local, agent-native workspace, not just a re-skin of any one tool.
Before you start
You have three ways to install Open Design. Pick the one that fits you:
| Path | Best for | Requirements |
|---|---|---|
| Desktop app | Most people — zero config | None. Just download and open. |
| Run from source | Developers who want to read or modify the code | Node ~24, pnpm 10.33.x |
| Install into your agent | People who live in the terminal | An existing coding-agent CLI |
Chase shows the terminal route in his video, but the desktop app is the recommended path today — no Node, no pnpm, no clone, and it auto-detects your agents for you.
Step 1 — Install Open Design
Option A — Desktop app (recommended, zero config)
Go to open-design.ai/download and grab the build for your OS. After installing, the app auto-detects every coding-agent CLI already on your PATH and loads the built-in skills and design systems for you. This is the fastest way to get to a working workspace.
Option B — Run from source
If you would rather run it from the repository — as Chase does in the video — you only need a handful of commands:
git clone https://github.com/nexu-io/open-design.git
cd open-design
corepack enable && pnpm install
pnpm tools-dev run web
Then open the local URL it prints in your terminal. It resolves a dynamic port, so don’t hardcode one — just click whatever address it shows. You need Node ~24 and pnpm 10.33.x; Corepack will select the pinned pnpm version for you. (If a dev server doesn’t come up, you can tell your agent “spin up the Open Design dev server” and let it handle the command.)
Option C — Install into your coding agent
To use Open Design without ever opening the GUI — calling it as a skill inside your agent — run:
od mcp install <agent>
# od ships with Open Design; <agent> = claude | codex | cursor | copilot | gemini | opencode | …
Then, inside the agent, just ask: Use open-design to generate a landing page with the Airbnb design system.
Step 2 — First run: connect your coding agent
The first time you launch Open Design, it scans your machine and shows you every local CLI it found. A prompt asks how you want to drive the AI. This is the “bring your own agent” step.
- Choose local CLI. Pointing Open Design at Claude Code, Codex, or OpenCode means generation pulls from the subscription you already pay for, instead of charging separate API fees. (You can also wire in your own API key if you prefer a different harness.)
- Leave the model on default unless you have a reason not to — it follows your CLI’s own configuration.
- Add media providers (optional). Want to generate images, video, or audio? Add your own API keys for providers like OpenAI, MiniMax, ElevenLabs, and more. This is what unlocks the image-and-video side of the workspace — something a pure Claude Design clone doesn’t give you.
- Toggle skills and design systems. Enable only the capabilities you need for the work in front of you.
You can change any of these later, so keep it simple on the first pass.
Step 3 — Explore the workspace
Across the top you’ll find Designs, Examples, Design systems, and the image and video template libraries. The two that matter most on a first look are design systems and examples.
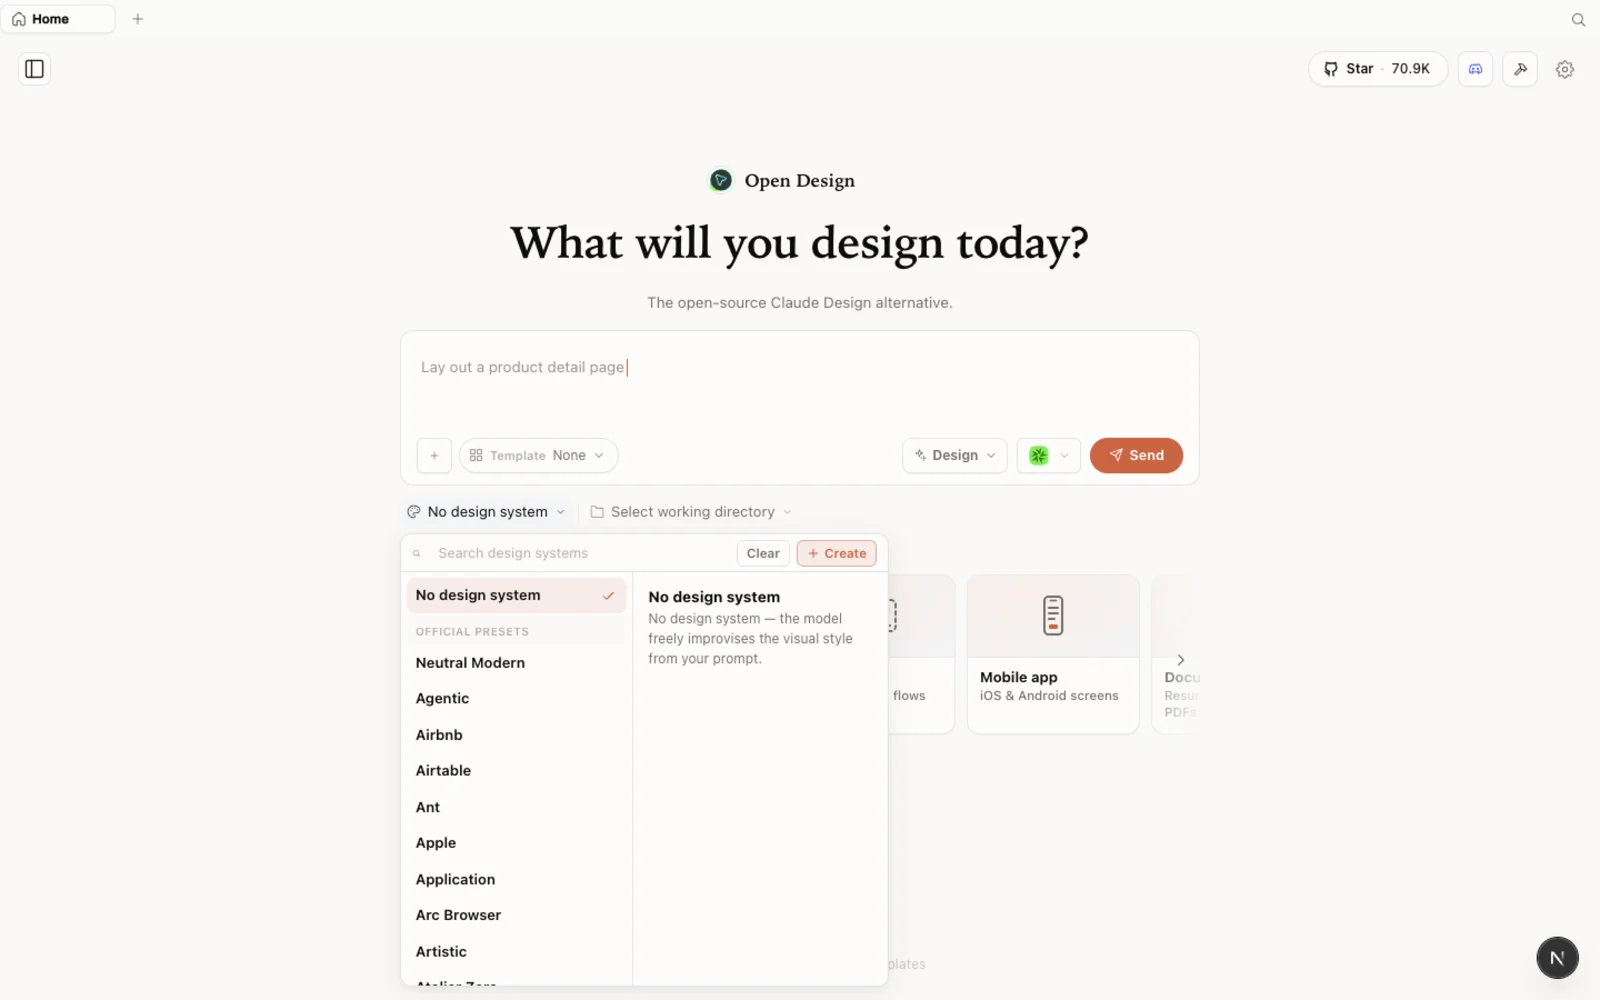 The design-systems library: each entry breaks a real brand down into palette, typography, components, and visual atmosphere you can reuse as a starting point.
The design systems library is the standout. Each entry takes a real-world brand — Airbnb, for example — and breaks it down into palette, typography, components, and overall visual atmosphere. If you want a page that feels like that brand, you snap the system in and generation starts from those rules instead of a blank canvas.
A candid note from Chase’s walkthrough: the examples are produced by single-line prompts, with the exact prompt shown right on the card. They look impressive, but there’s no secret sauce behind them — what you see is what you typed. Treat them as inspiration, not a promise of one-click magic. The image and video template galleries are similar: handy as reference, but lighter on day-to-day value than the prototype and slide-deck workflows. Focus your attention on the deliverables you’ll actually ship.
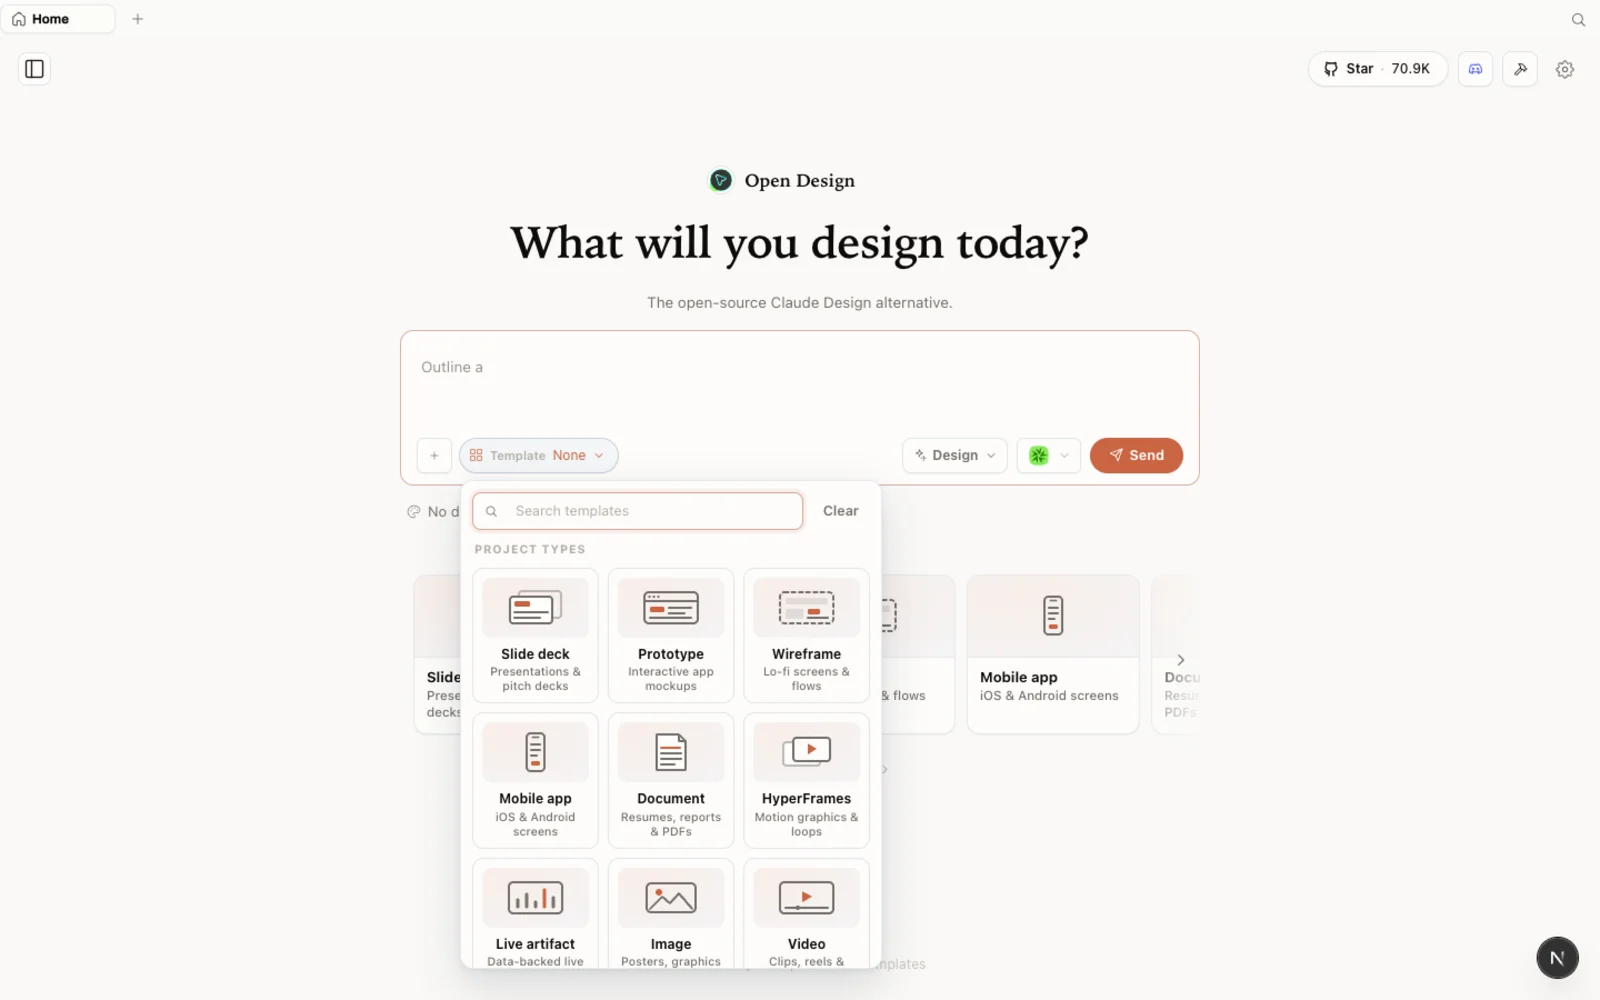 The templates library: prototype, slide, image, and video starting points you can filter by type and fork to begin.
You can browse the full plugin library on the web at open-design.ai/plugins before you install anything.
Step 4 — Build something
The real workflow — and where Open Design earns its keep — is creating prototypes and slide decks. It works much the way you’d expect:
- Name the project and pick one or more design systems from the built-in list.
- Choose fidelity — wireframe to block out structure fast, or high fidelity for the full styled thing.
- Optionally import a Claude Design ZIP. Built your own design system in Claude Design? Open the project there, choose Share → Download project as .zip, then upload that ZIP in Open Design. All the design files appear in the workspace, ready to reuse. (Right now this ZIP import is the cleanest way to bring your own brand in — there’s no “create a design system from scratch” button yet.)
- Write the brief and hit create. Open Design runs the same kind of clarifying Q&A you’d see in Claude Design — who’s this for, how many slides, which fidelity, what visual tone — then builds a to-do list and works through it. In the video, Chase asks for a landing page for a fictional SaaS called Lighthouse with three comparable directions (classic stacked, editorial, and loud), then generates a brutalist slide deck and exports it to PowerPoint.
The output is a real, interactive artifact built from the design system you chose. Chase’s honest read: results land at roughly a “90% solution” — a deck that’s on-brand and usable, with a few spacing and formatting nudges left for you. For something that’s still early, that’s a strong starting point.
Tips
- Use local CLI, not API, so generation pulls from a subscription you already have rather than billing per call.
- Start from a built-in design system to skip the blank canvas; import a Claude Design ZIP when you need your own brand.
- Add only the media keys you’ll actually use — you don’t need every provider to get going.
- Expect a 90% draft, then polish. Export early (including to PowerPoint) to catch the small formatting drifts before you hand off.
- Lean on prototypes and slide decks first. They’re the most polished surfaces; the example and template galleries are better as inspiration than as finished deliverables.
FAQ
Is Open Design free? Yes — it is open source under the Apache-2.0 license. You run it locally for free; you only pay for the model and media usage of whichever agent and API providers you connect. Pointing it at a local CLI means generation rides on the subscription you already have.
Which coding agents does it support? 21+ agents, including Claude Code, Codex, Cursor, Gemini, GitHub Copilot, and OpenCode. Open Design auto-detects the CLIs already installed on your machine, so you usually don’t have to configure anything.
Can I use my own design system? Yes. The smoothest path today is to build the system in Claude Design, download the project as a ZIP, and import that ZIP into Open Design — your tokens and components carry straight over. There isn’t a dedicated “create a design system” button in the GUI yet, so the ZIP import is the recommended route.
How is it different from Claude Design? Same familiar feel, but open-source, local-first, and agent-pluggable across 21+ CLIs — plus extra capabilities like slide decks, magazine layouts, image generation, and video that a single-provider tool doesn’t offer. It’s an early release, so expect a few rough edges, but the foundation is solid.
This written guide is based on Chase AI’s hands-on walkthrough. Watch the full video above, and subscribe to Chase AI for more practical AI-tool breakdowns.