
I Replaced Claude Design With This Opensource Alternative!
Set up Open Design to run fully local — pair it with a local model runner like Ollama and your own command-line agents (OpenCode, Claude Code, Codex, Gemini) for a private, free, bring-your-own-agent alternative to Claude Design.
This guide shows you how to run Open Design entirely on your own machine — no cloud account, no per-design billing, nothing leaving your laptop. The idea is to pair Open Design with a local model runner (something like Ollama) and the command-line coding agents you already have installed, so generation happens locally and your work stays private. It follows the path AI Automation Station takes in their local-setup walkthrough, rewritten and updated to match the current release. Watch the video above for the live run, or read on for the written version.
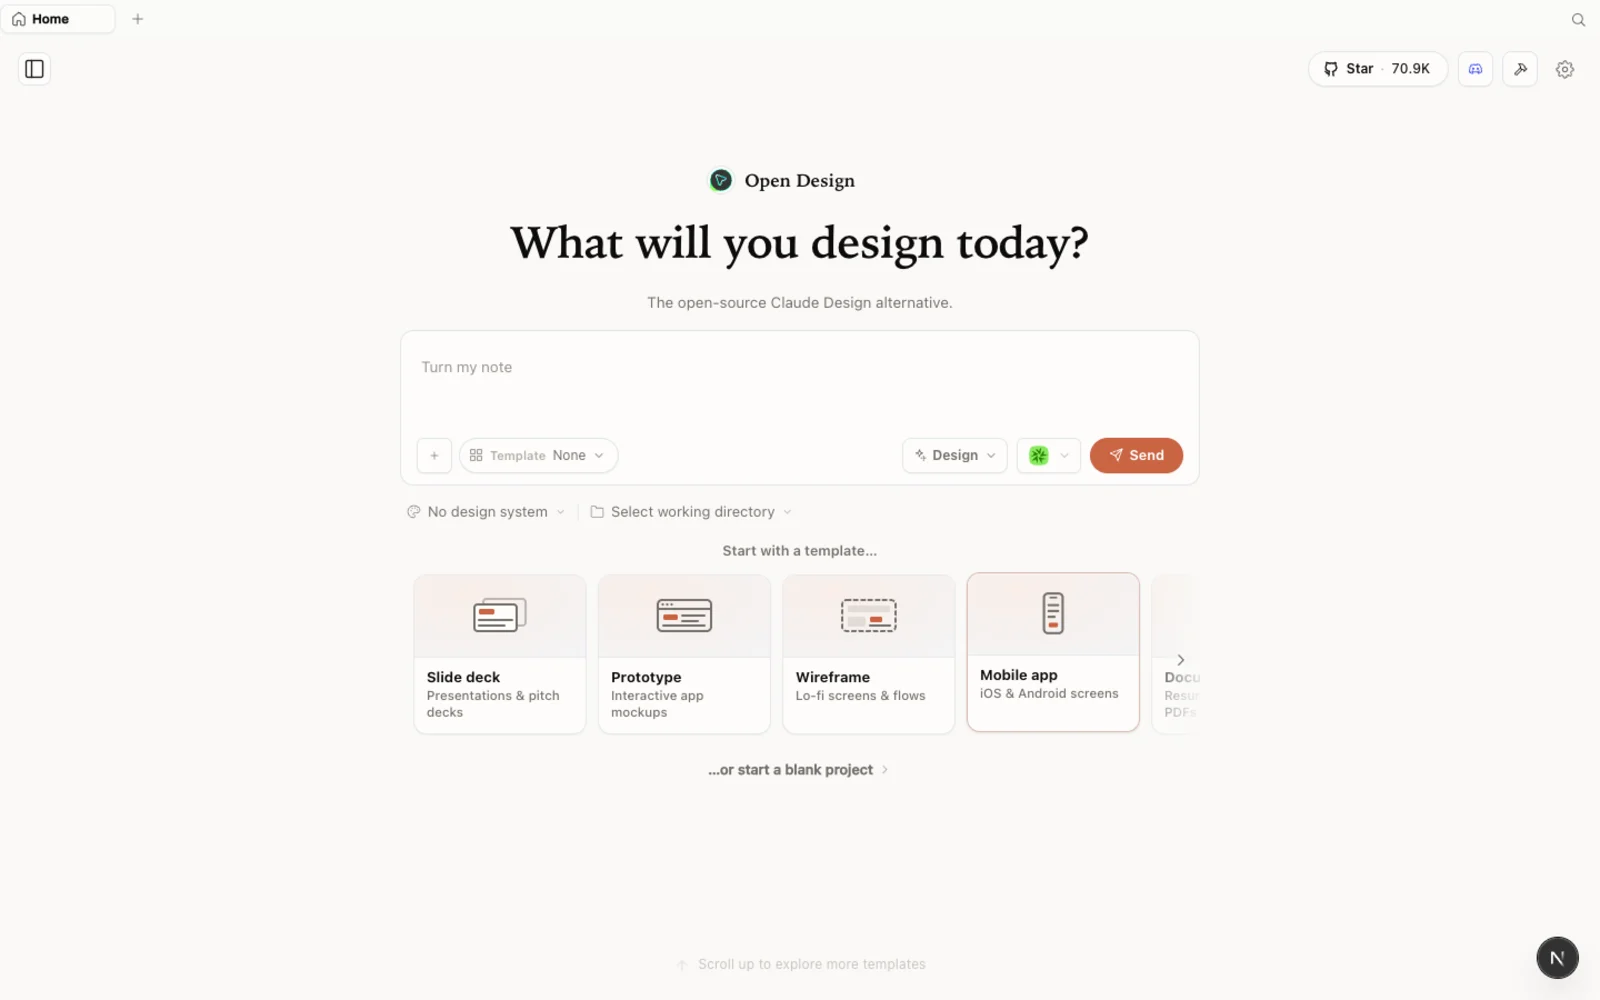 The Open Design workspace running locally — your projects, your agent, your machine.
What is Open Design?
Open Design is an open-source, local-first design platform — an agent-native alternative to Claude Design and Figma. The thing that makes a fully local setup possible is its core architecture: instead of being wired to one model provider, Open Design runs on top of the coding agent you already use. Claude Code, Codex, Cursor, Gemini, GitHub Copilot, OpenCode, and more all plug in. It is “bring your own agent” rather than just bring your own key.
That matters for this tutorial because if the agent you pick runs locally — an open command-line agent driving a local model through a runner like Ollama — then the whole loop stays on your machine. No credits burned, no prompts shipped to a remote API.
A few things worth knowing:
- Open source, Apache-2.0 — clone it, self-host it, read every line.
- Runs locally — your projects live in your own folders, not in someone else’s cloud.
- Agent-pluggable — 21+ coding agents are supported; you choose which CLI drives generation.
- More than prototypes — prototypes, live artifacts, slide decks, magazine layouts, image generation, and even video, all from one workspace.
- Real starting points built in — design systems modeled on well-known brands (Airbnb, Airtable, and others), plus templates and image presets, so you are never staring at a blank canvas.
If you have used Claude Design, the feel will be familiar. Open Design keeps that same calm aesthetic and runs in the browser just like Claude Design does — then opens up the engine underneath so you can swap in any agent you like.
Before you start
You have three ways to install Open Design. Pick the one that fits you:
| Path | Best for | Requirements |
|---|---|---|
| Desktop app | Most people — zero config | None. Just download and open. |
| Run from source | Developers who want to read or modify the code | Node ~24, pnpm 10.33.x |
| Install into your agent | People who live in the terminal | An existing coding-agent CLI |
The video takes the run-from-source route, but the desktop app is the recommended path today — it needs no Node, no pnpm, and no clone.
For a fully local setup, you will also want one local-capable command-line agent installed before you start — for example OpenCode, which ships with free models built in and can point at a local runner like Ollama. Open Design will detect it automatically once it is on your PATH.
Step 1 — Install Open Design
Option A — Desktop app (recommended, zero config)
Go to open-design.ai and click Download desktop. Builds are available for macOS (Apple Silicon and Intel), Windows (x64), and Linux (AppImage). After installing, the app auto-detects every coding-agent CLI already on your PATH and loads the built-in skills and design systems for you.
Option B — Run from source
To run it straight from the repository — as the video does — you only need a few commands:
git clone https://github.com/nexu-io/open-design.git
cd open-design
corepack enable && pnpm install
pnpm tools-dev run web
Then open the local URL it prints in your terminal. You need Node ~24 and pnpm 10.33.x; Corepack will pick the pinned pnpm version for you. The port is assigned dynamically, so use whatever address the command shows rather than guessing one.
Option C — Install into your coding agent
To drive Open Design from the terminal — calling it as a skill or MCP server inside your agent, no GUI required — run:
od mcp install <agent>
# od ships with Open Design; <agent> = claude | codex | cursor | copilot | gemini | opencode | …
Then ask, inside the agent: Use open-design to generate a dense analytics dashboard with the Airbnb design system.
First run: connect your local agent
The first time you launch Open Design, it scans your machine and shows every command-line agent it found — Claude Code, OpenCode, Codex, Gemini, and others. This is the moment that makes a local-only workflow real: you choose which agent generates your designs.
- Pick a local agent to avoid spending credits. Claude Code is excellent, but it draws on your Claude credits. Choosing a free, local option like OpenCode instead means generation runs on your machine for nothing. OpenCode bundles several free models (MiniMax among them) and can sit in front of a local runner such as Ollama, so the model never leaves your computer.
- Add provider API keys only if you want them. There is a place to paste keys for Anthropic, OpenAI, Azure, and Google Gemini if you ever want to reach for a hosted model. For a fully local run, you can skip this entirely.
- Add media providers (optional). If you want to generate images, video, or audio, add your own keys for those providers. This is the bring-your-own-key part — and it is opt-in.
- Toggle skills and design systems. Enable only the capabilities you need for the work in front of you.
Everything here can be changed later, so keep the first pass simple: pick your local agent and move on.
Explore the workspace
Open Design keeps your work project-scoped — the designs you create live inside the project folder you are working in. Switch folders and you switch projects.
Start a new prototype (the video names one “Tube Analytics”) and you immediately get a choice: begin from a design system or work free-form. You are not forced to define a design system first. You can pick one of the built-in systems — the Claude/Anthropic system, Airbnb, Airtable, and more — or import a Claude Design ZIP so all of your existing tokens and components come along for the ride.
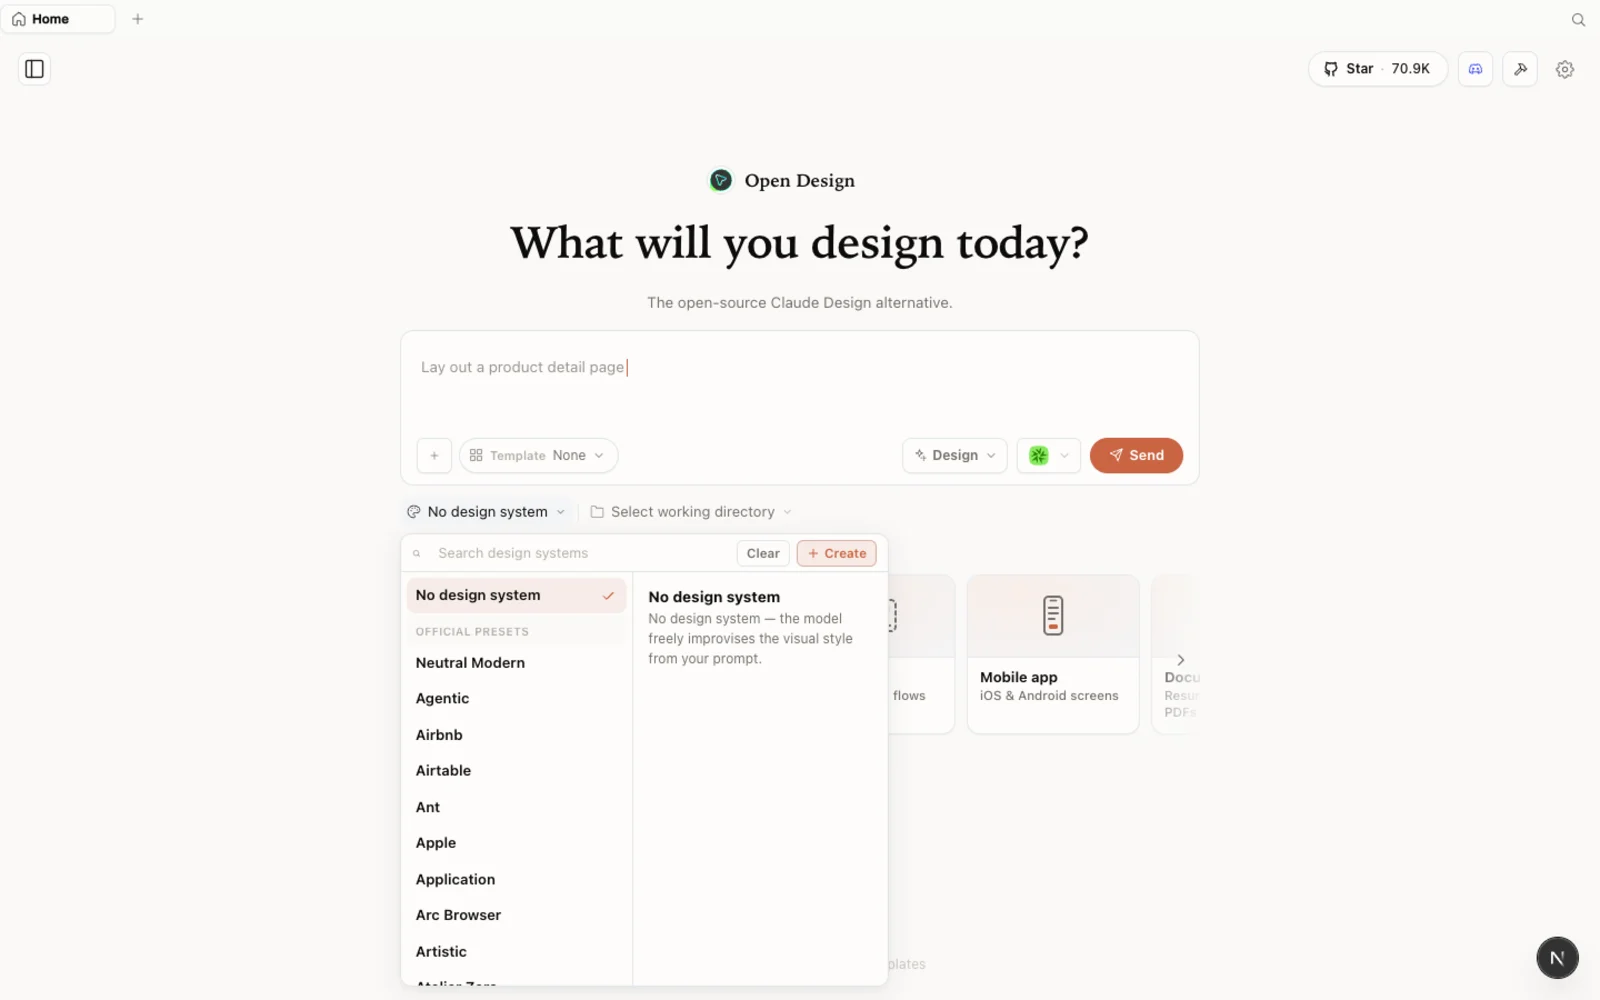 The design-systems library: real brand starting points you can preview, grab the
 DESIGN.md for, and snap into any project.
There is more than brand systems here. Open Design ships a gallery of example designs you can preview before using — click one and it opens a live preview together with the prompt that produced it. Hit Use prompt to start from there. Alongside those sit image templates you can fork as a starting point.
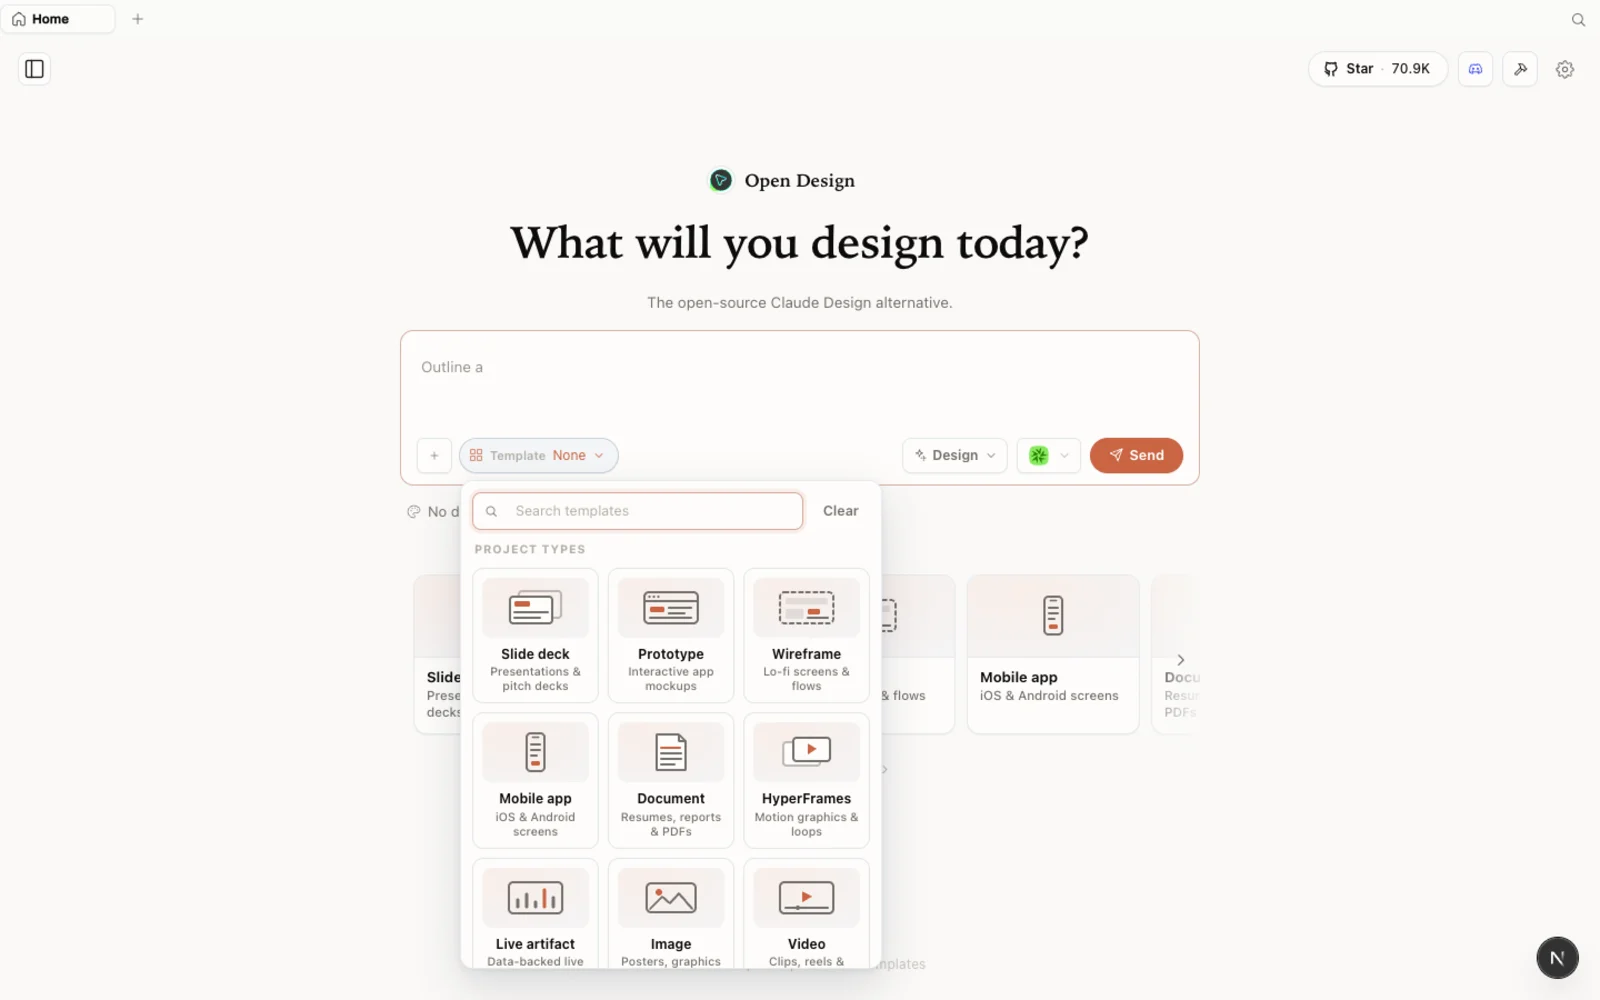 Example designs and image templates — preview any one, then fork it or reuse its prompt.
Build something — locally
Now the part that proves the local loop works. In the video, the creator opens a SaaS analytics dashboard and asks Open Design to extend it.
- Start the prototype. Choose a design system (or free-form), and optionally import your Claude Design ZIP so the agent has the full context of your existing design.
- Attach reference. Drop or paste in images for visual reference, or type
@to attach a file from the project — for example a “SaaS Analytics dashboard” file. - Write the brief. Prompt it with something concrete: “Build out the remaining tabs in the dashboard using your design system.” You get the familiar split layout — conversation on the left, live preview and design files on the right.
- Watch it run on your agent. Open Design calls your chosen CLI — OpenCode, in the video — and builds the new screens. Because it is running locally through OpenCode’s free models, this costs zero credits: nothing is billed to Claude, Gemini, or Codex. New tabs (trends, content-script generators, transcripts, comments) appear, styled to match the existing system.
- Export or deploy. When the design is ready, ask it to download as a ZIP to hand off into your codebase, or deploy straight to Vercel from inside Open Design — something Claude Design does not offer. To fold the changes back into your app, drop the ZIP into a coding agent like Claude Code and say “implement these design changes using the ZIP file.”
The result is a real, interactive design — built end to end on your own machine, with your own agent, for free.
Tips
- Choose a free local agent for cost-free generation. OpenCode with its bundled free models (or a local model via Ollama) keeps every run at zero credits.
- Save hosted keys for when you need them. Paste Anthropic/OpenAI/Gemini keys only if you want to reach for a premium model; a local agent needs none of them.
- You do not need a design system to start. Begin from a built-in one, import a Claude Design ZIP, or just go free-form.
- Your designs stay with the project folder — organize work by running Open Design against the right directory.
- Export is a handoff, not a lock-in. Download as ZIP, deploy to Vercel, or feed the files to a coding agent to merge into your existing code.
FAQ
Can I really run Open Design without any cloud cost? Yes. Open Design itself is open source (Apache-2.0) and free to run. If you point it at a free local agent like OpenCode — optionally backed by a local runner such as Ollama — generation happens on your machine at zero credit cost. You only pay if you choose to connect a paid hosted model or media provider.
How do I keep everything local and private? Pick a local command-line agent during first run instead of a cloud one. Because Open Design runs on top of whichever agent you choose, a local agent and local model mean your prompts and designs never leave your computer.
Which coding agents does it support? 21+ agents, including Claude Code, Codex, Cursor, Gemini, GitHub Copilot, and OpenCode. Open Design detects the CLIs already installed on your machine and lets you choose which one drives generation.
How is it different from Claude Design? Same familiar, browser-based feel, but open-source, local-first, and agent-pluggable. You bring your own agent (local or hosted), you are not forced to define a design system up front, and you can do extra things Claude Design can’t — like deploying directly to Vercel and generating slides, images, and video from the same workspace.
This written guide is based on AI Automation Station’s local-setup walkthrough. Watch the full video above, and subscribe to AI Automation Station for more hands-on AI-tool tutorials.