
Design at Claude Design Quality Without Burning Tokens
A cost-first guide to Open Design — escape the token cap by running design through the agent you already pay for (or your own key), build a full landing page, even generate a video, and deploy. Plus an honest "when to use which tool" call. Based on Roy Shavit's walkthrough.
This guide takes the cost angle head-on: if you’ve used a closed cloud design tool, you know the magic — and you know the tokens run out fast. Open Design lets you design at a similar quality by running the work through any model you want — the agent you already pay for, or your own key — so you’re not rationing a separate design budget. It follows the build Roy Shavit runs in his walkthrough, rewritten in English and brought up to date with the current release. Watch the video above for the live run, or read on for the written version.
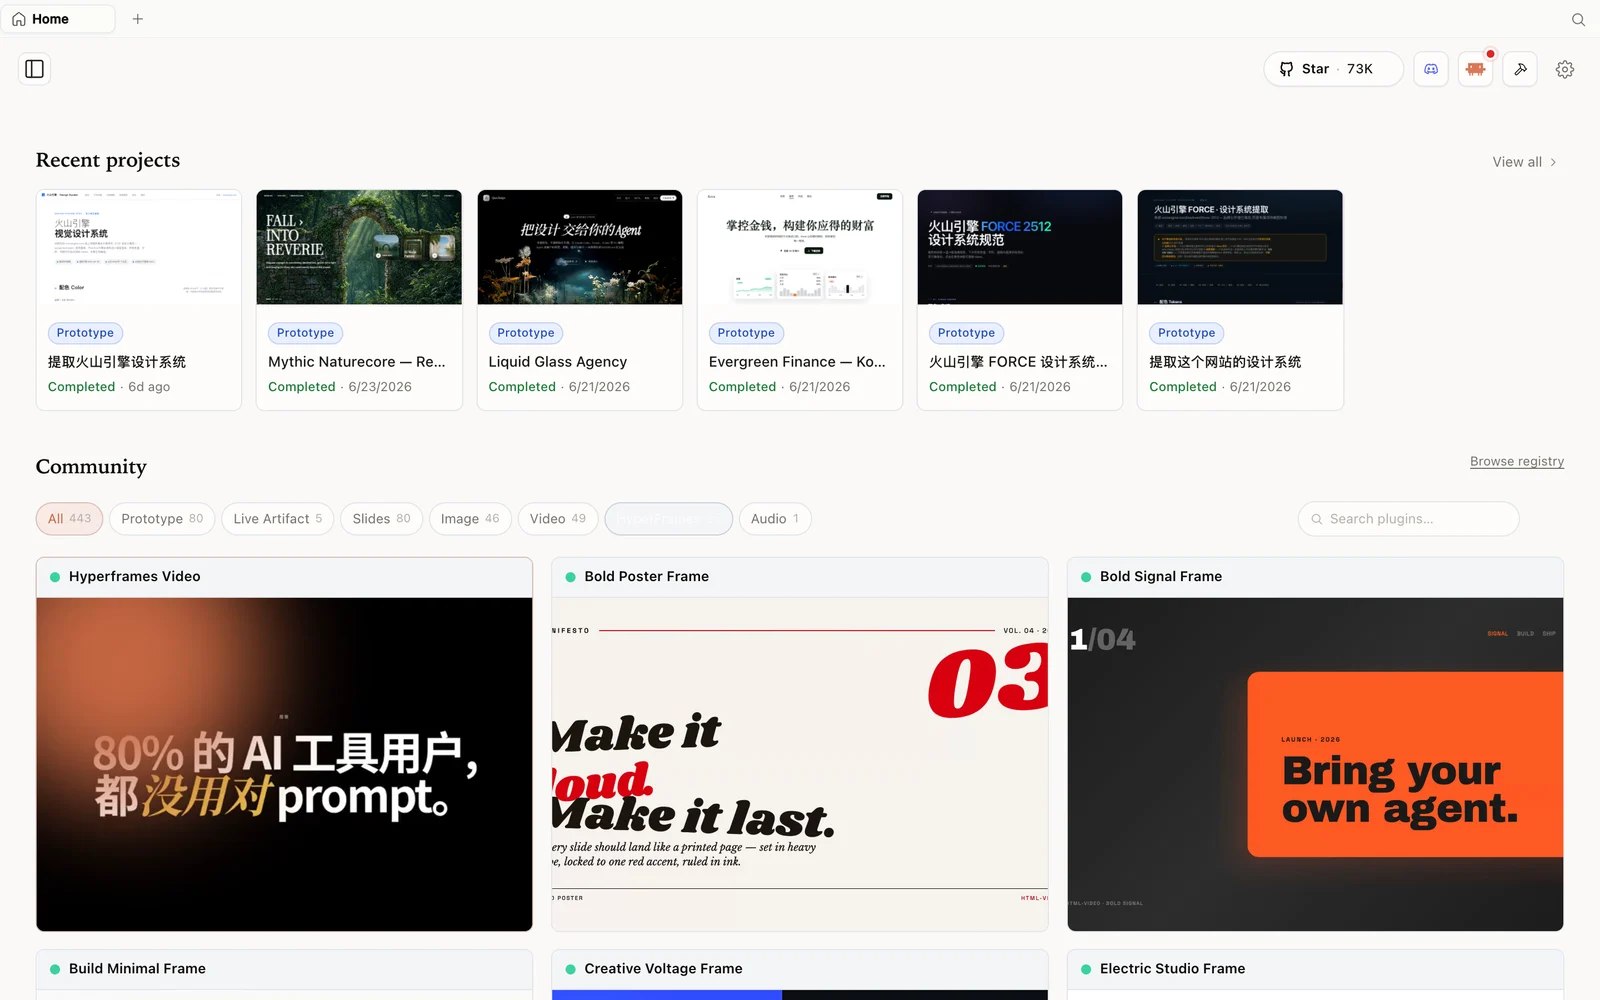 The HyperFrames gallery: code-driven motion and video pieces you can fork and remix.
What is Open Design?
Open Design is an open-source, local-first design platform. Like the closed cloud tool, you give it a prompt and get back a real artifact — a landing page, app, or deck — as editable HTML you can keep working on in VS Code or your editor. Three things set it apart, and the first two are why it’s cheaper to run:
- It’s open source (Apache-2.0) — read the code, fork it, self-host it.
- It runs on your computer — files stay on your machine; nothing goes to a third-party cloud.
- It uses any model you want — Codex, Claude, or 15+ other models via your existing CLI, or your own API key (BYOK).
The cost story: stop rationing tokens
Roy’s framing is blunt and it’s the whole point: a closed cloud design tool burns through its token allowance very quickly, so you end up rationing your design work. Open Design removes that ceiling because generation runs through the agent/subscription you already have, or a key you control. You decide the cost/quality trade-off per project — a cheap model for drafts, a top model for the final pass — instead of being metered by someone else’s separate design cap. Self-hosting also means the work happens on your machine, which keeps things lean.
Step 1 — Install and detect your models
The simplest path is the desktop app: go to open-design.ai/download, pick your OS, download, and drag it in. Prefer source:
git clone https://github.com/nexu-io/open-design.git
cd open-design
corepack enable && pnpm install
pnpm tools-dev run web
Open the local URL it prints (a dynamic port — don’t hardcode one). In settings, Open Design immediately recognizes the models installed locally — Roy has Codex and Claude, and it would pick up OpenCode or others too. Set a default, or bring your own key from any provider so you don’t even need a CLI installed. This is the uniqueness: you’re not forced onto one vendor.
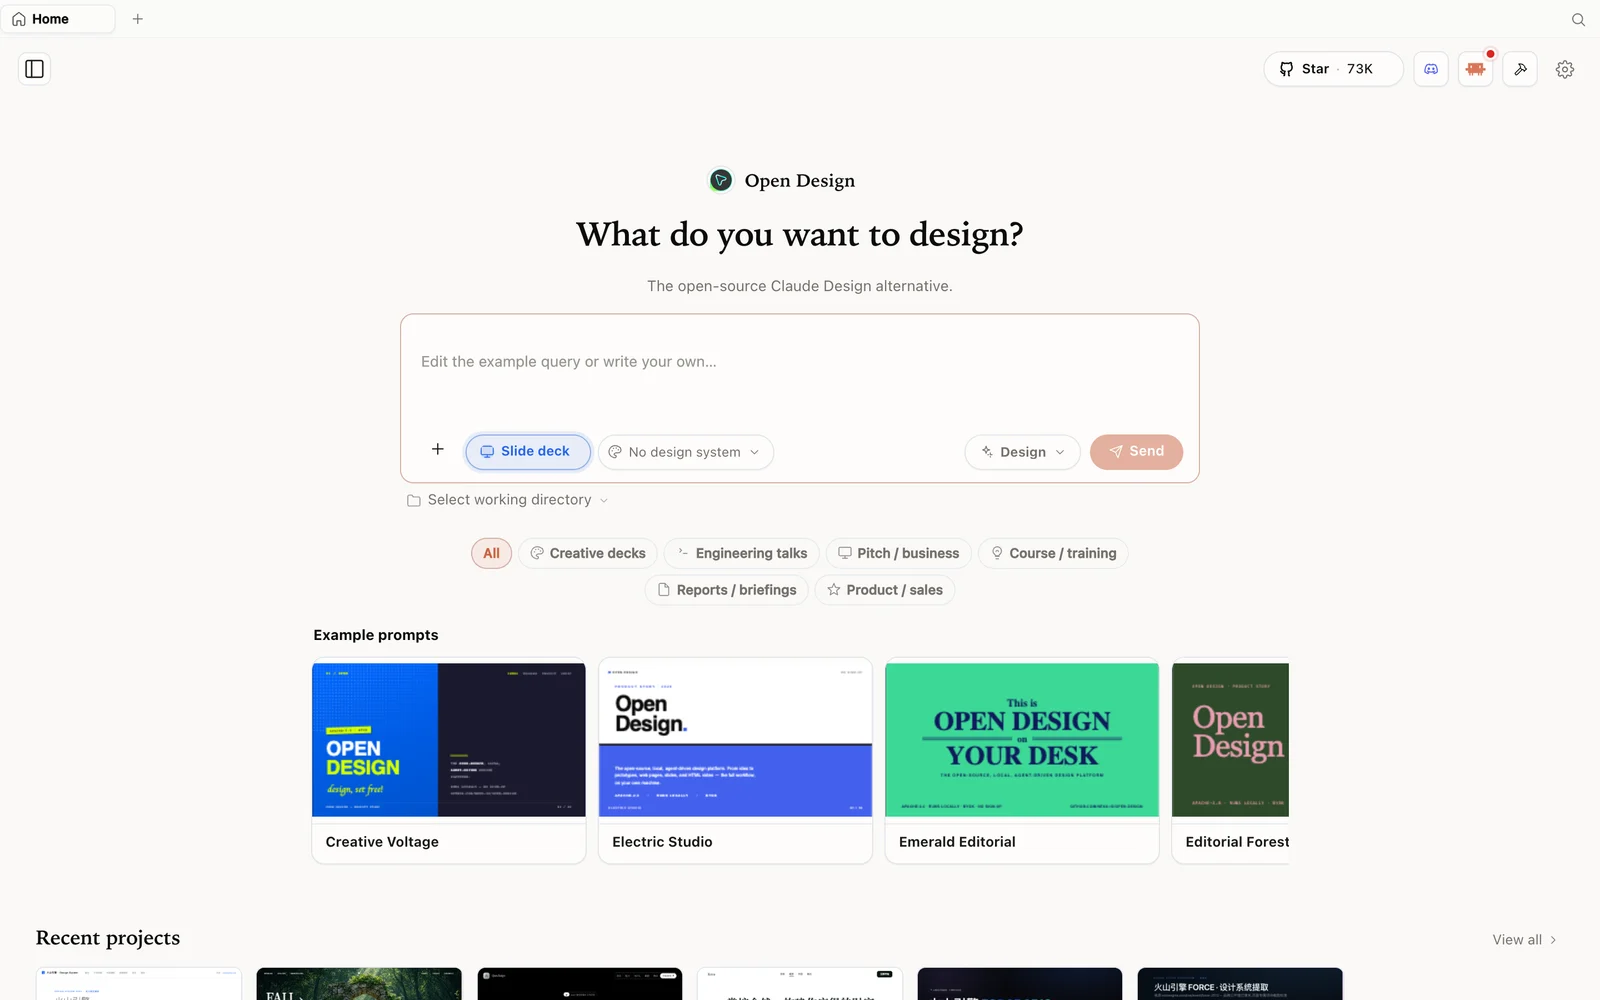 Slide-deck mode: choose a deck category and fork an example as your starting point.
Step 2 — Build a landing page, iterate cheaply
Roy builds a landing page for a game-streaming service. He sends the brief, Open Design returns a discovery form (output type, audience, brand direction, scope, motion level), he answers, and it builds — running on Claude Opus here because that’s what his CLI is set to. The result is a solid first version: hero, demo numbers, platform support, a pricing page, testimonials, FAQ — responsive across desktop, tablet, and phone.
The iteration tools keep the cost of changes low: select an area and add a note, leave a comment, or do inline editing to change text directly. Flip to the code view to see the generated HTML and design files. When you’re happy, the Share button exports to PDF or deploys straight to Vercel or Cloudflare Pages (drop in your token and the site goes live), or you click through to the source and keep working in VS Code, Cursor, or your editor.
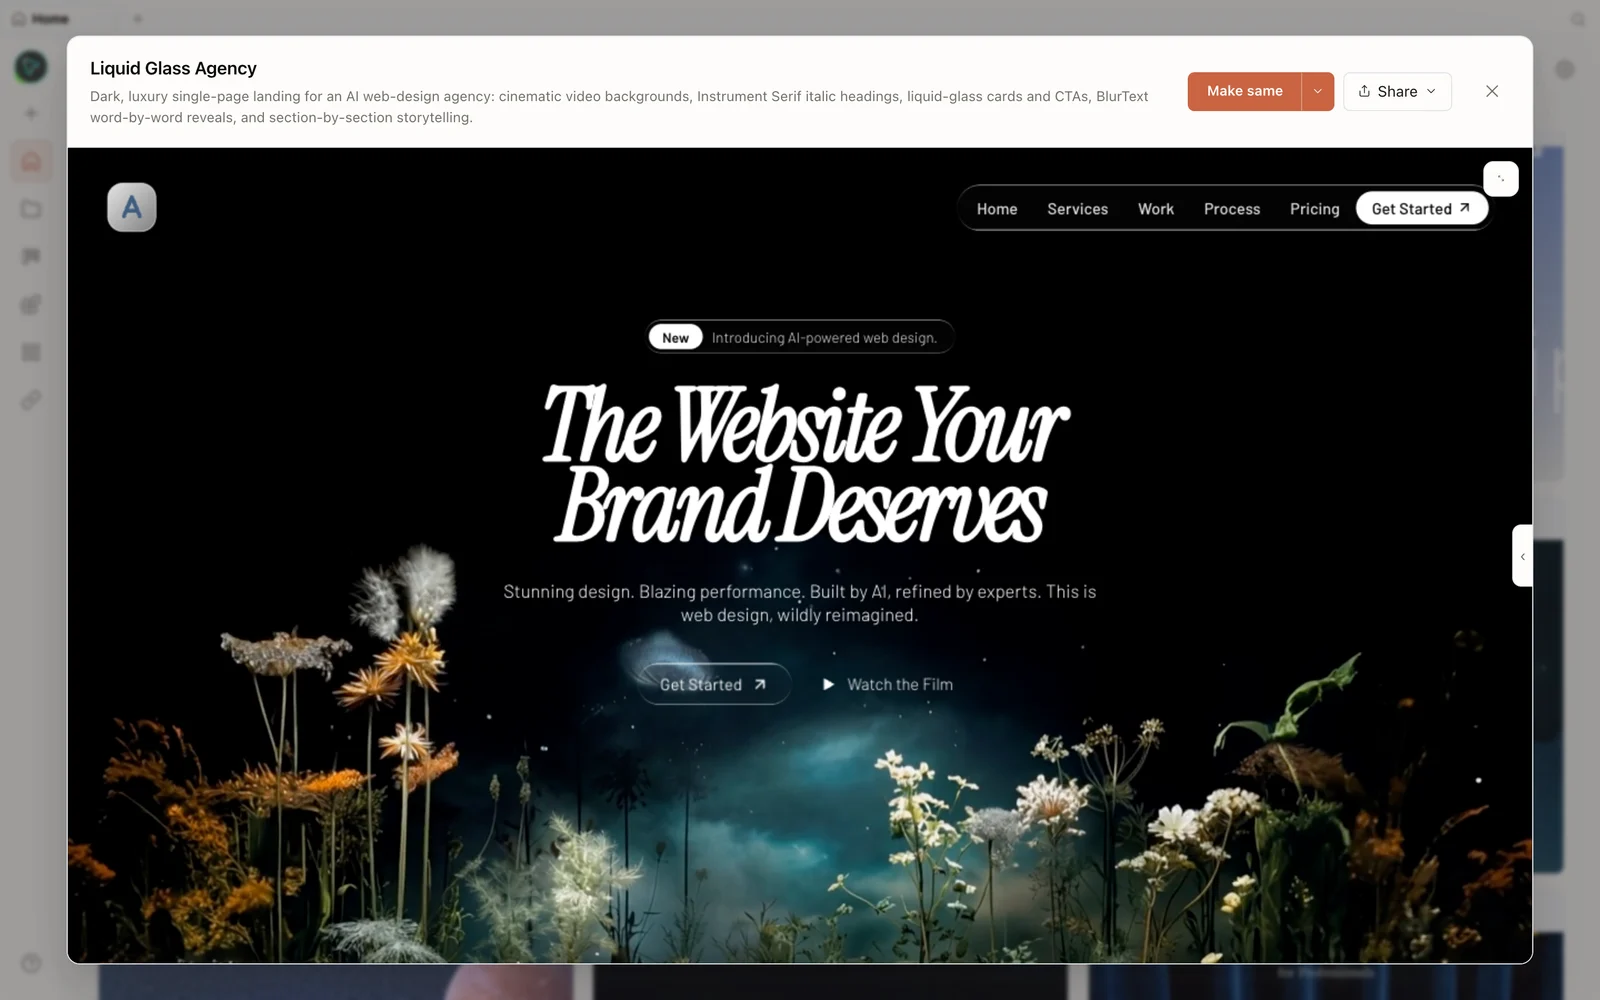 A real generated prototype rendered in the preview — a dark, cinematic agency landing page.
Step 3 — Beyond pages: generate a video
Open Design isn’t limited to static design. Roy uses the hyperframes motion skill to generate an animated bar chart in a New York Times style — it takes a few minutes and produces a real MP4 you can drop into a longer video or use as a branded snippet. There are 170+ design-system plugins to choose from too (Apple, PlayStation, and more), and because the library is open, the community keeps adding to it.
When to use which (the honest call)
Roy is fair about it. Reach for Open Design when you want model flexibility, lower cost, or self-hosting — the work stays on your machine and runs on whatever model you choose, including a third-party one. Reach for the closed cloud tool when you want a minimal, zero-install setup and the least work to get started — and note it’s still a little more polished out of the box. Same content, slightly higher finish there; meaningfully more control and lower running cost here.
Tips
- Run on the agent you already pay for (or BYOK) to escape a separate token cap.
- Draft on a cheap model, finish on a strong one — you control the cost/quality dial per project.
- Use inline edit and area comments for cheap, surgical changes instead of full regenerations.
- Export to code or deploy to Vercel/Cloudflare straight from Share when you’re done.
- Try the hyperframes skill when you need motion/video, not just static pages.
FAQ
How does this save tokens versus a closed cloud tool? Generation runs through your own agent/subscription or your own API key, so there’s no separate metered design budget to exhaust — you choose the model and the cost.
Can I keep working on the output in my editor? Yes — output is editable HTML/files. Click through to the source and continue in VS Code, Cursor, or any editor, or deploy to Vercel/Cloudflare Pages.
Can it make more than web pages? Yes — prototypes, decks, images, and video (via the hyperframes motion skill), plus a large library of design systems.
Is it free? The app is open source under Apache-2.0 and free to run locally. You only pay for the model and media usage of whichever agent and key you connect.
This written guide is based on Roy Shavit’s walkthrough. Watch the full video above, and subscribe to Roy Shavit for more practical AI build content.